Drip Wallet Setup with your dApp
Setting up Drip Wallet with your dApp is a simple process. It's the same as setting up and getting started with any wallet. You can follow the steps below to get started.
Step 1: Install Drip Wallet extension
You can install Drip Wallet extension from the Chrome Web Store.
Step 2: Create a new wallet
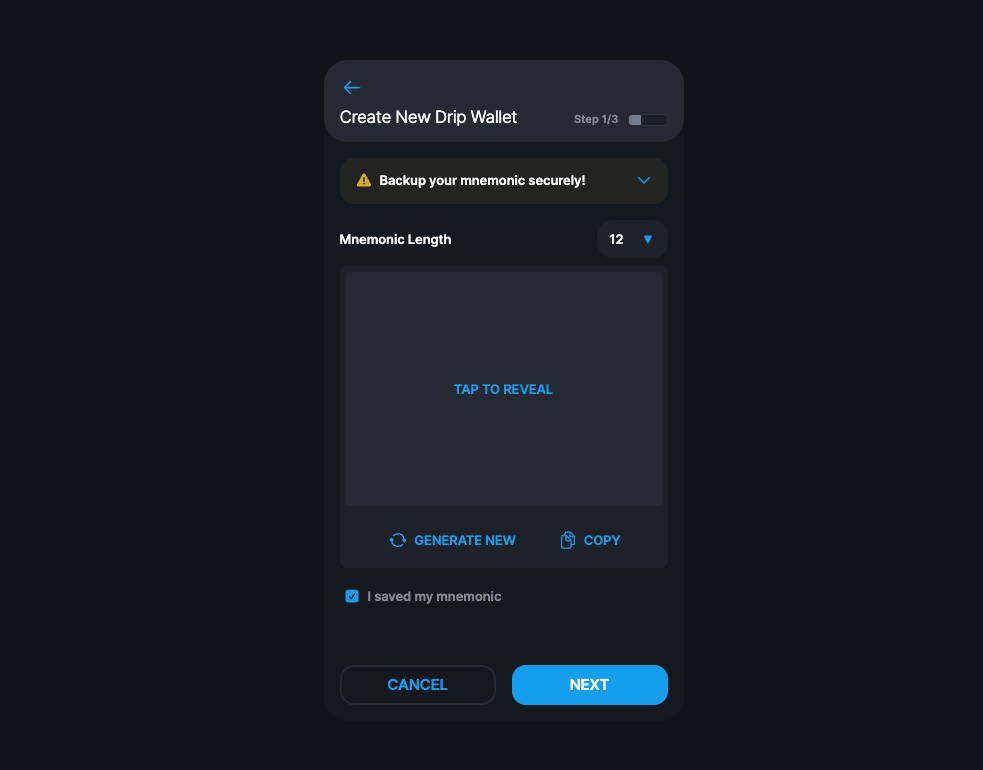
- Once you've installed the extension, you can create a new account by clicking on the CREATE NEW WALLET button.

- Click on TAP TO REVEAL to reveal your seed phrase. You can use this seed phrase to recover your wallet in case you lose access to your wallet. Make sure copy it and store it in a safe place.
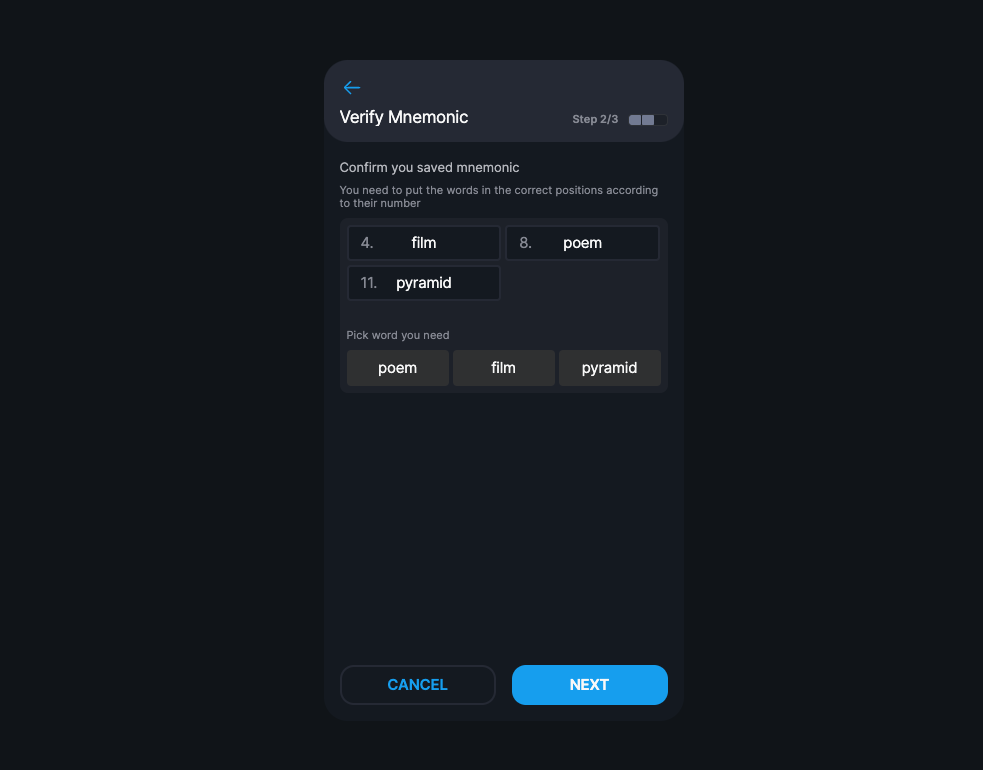
- You will have to verify your seed phrase by clicking on the words in the correct order in the next step. Once you've verified your seed phrase, click on NEXT.
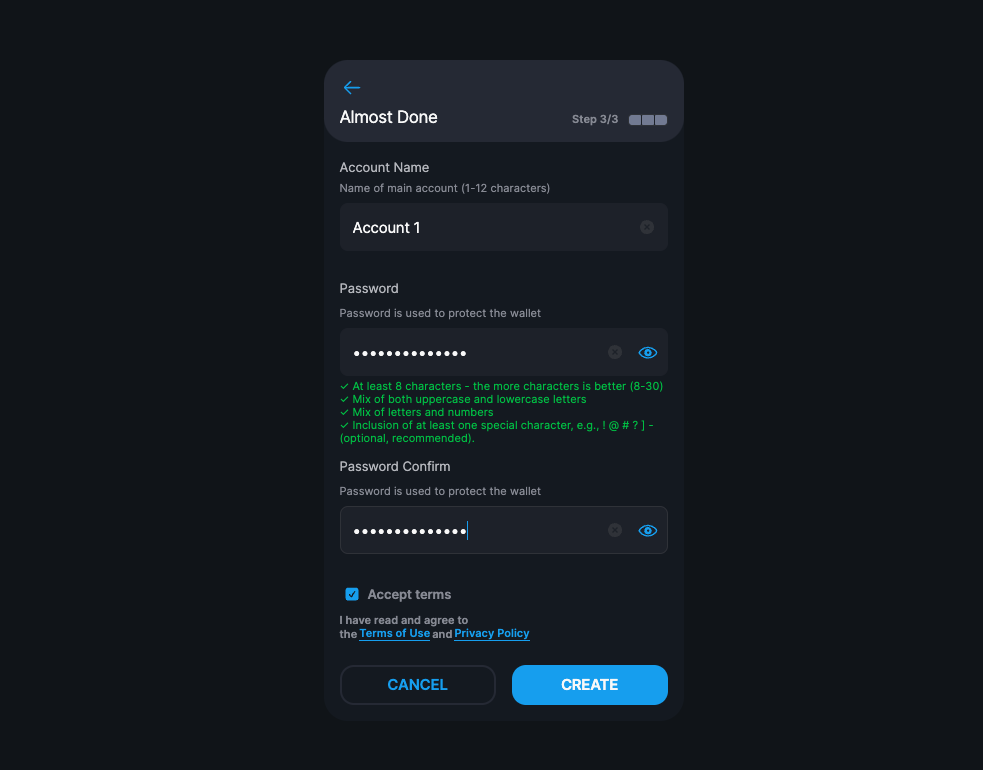
- In the next step, you'll be prompted to set a password for your wallet. Enter a strong password and click on NEXT.
- That's it! You've successfully created your wallet. You can now use your wallet to interact with your dApp. Later on you will be able to see your NFts and utilities in your wallet.
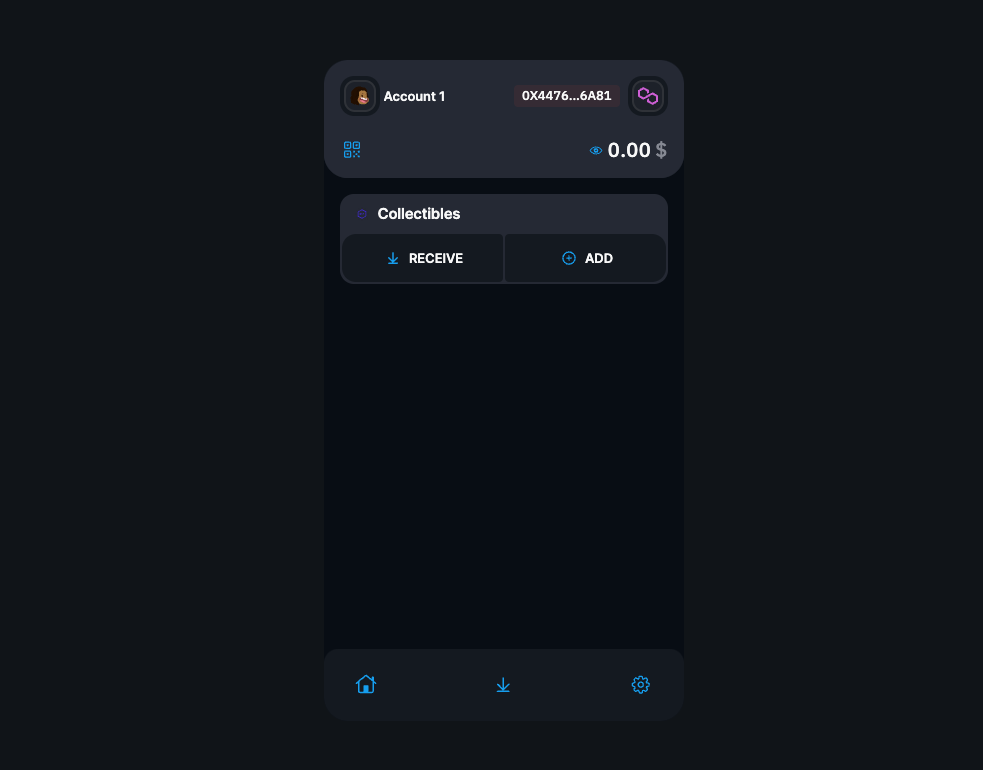
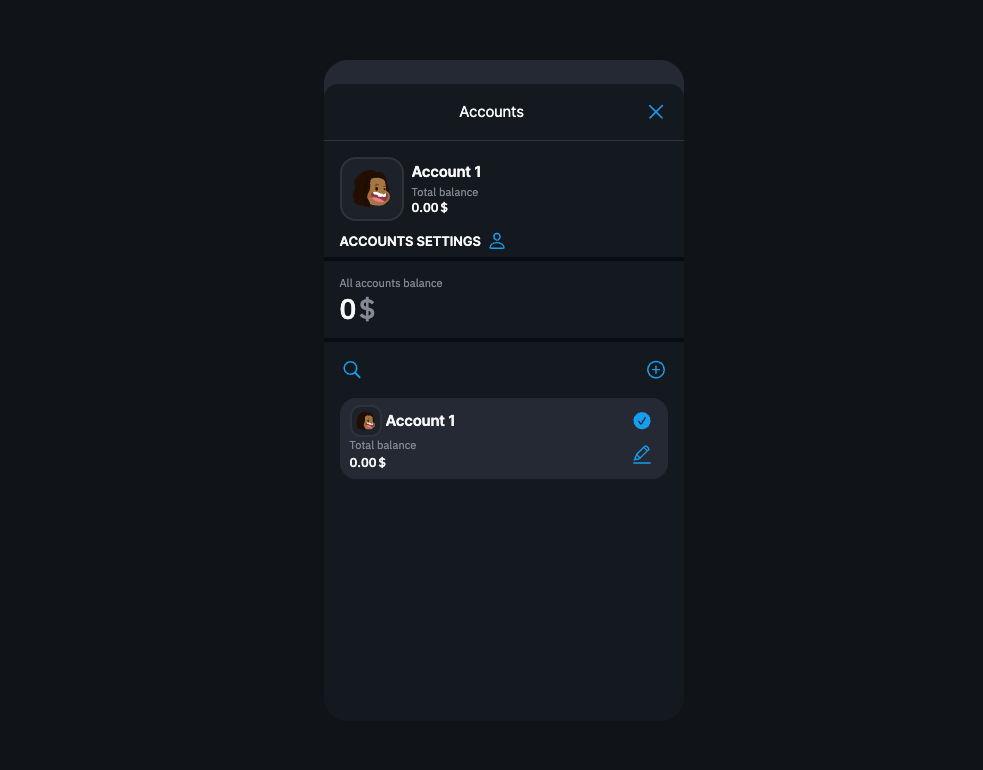
- You can click on your account name on the top left corner to see more details about your account or add more accounts later on.
Step 3: Connect your wallet to your dApp
Connecting your drip wallet to your dApp is as simple as installing the drip wallet extension. The extension injects the drip object into the window object which you can use to interact with the wallet.
- Just attach this function to a button click event or any other event that you want to use to connect your wallet to your dApp in your javascript code.
const handleWalletConnect = async () => {
  const provider = window.drip;
  if (provider) {
    const accounts = await provider.request({ method: "eth_requestAccounts" });
    console.log(accounts);
  }
};
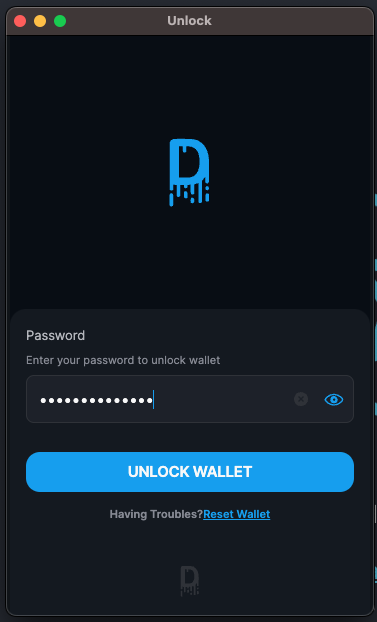
You can use the
providerobject to interact with the wallet. For example, you can use theproviderobject to get the user's account address by callingprovider.request({ method: "eth_requestAccounts" }), it supports all the standard methods that EthersJS supports.Now click on the button that you have added the event listener to and you should see a popup asking you for your password, enter your password and click on UNLOCK WALLET.
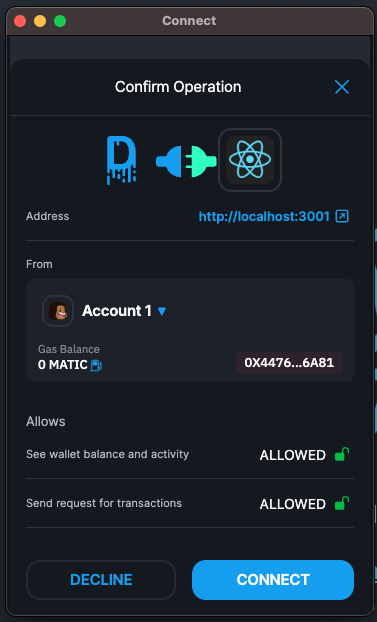
- On the next screen, you'll be prompted to approve the operation of connecting your wallet to your dApp. Click on CONNECT to continue.
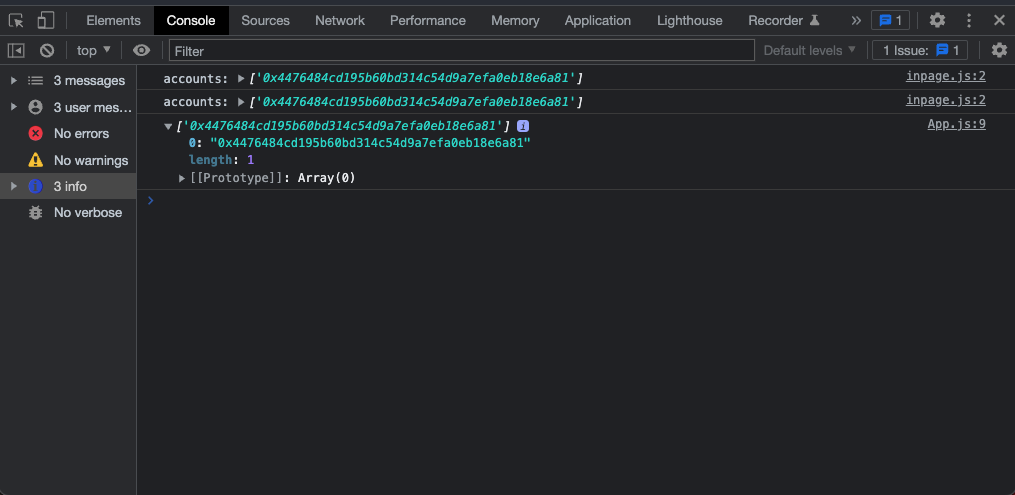
- That's it! You've successfully connected your wallet to your dApp. You should see your account address in your browser console now.
- You can now use
window.dripto interact with your wallet using the standard EthersJS methods.